Small Space, Big Value: How to Add a Bedroom or Office to a Mews House
Lofts, basements and outbuildings can each buy a mews house an extra bedroom or office — if you respect...

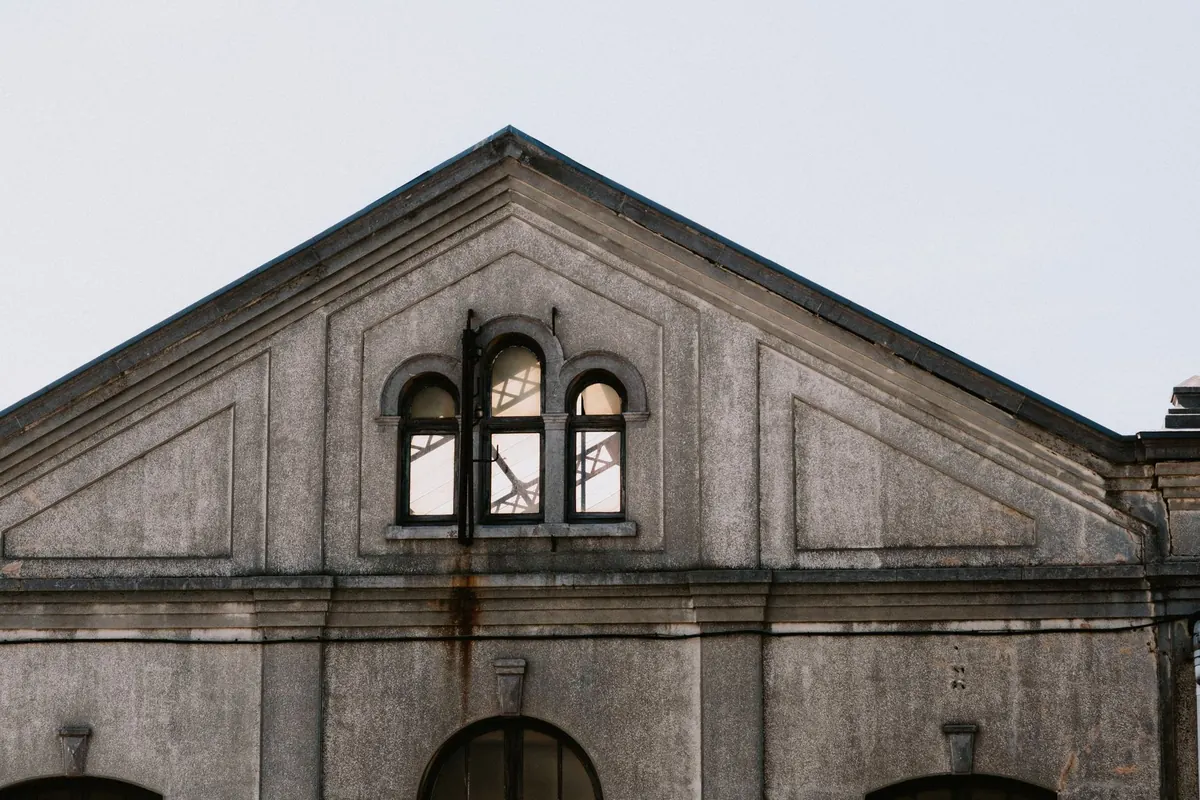
Mews houses were built to be practical, not generous. Stabling, a tack room, maybe a groom's quarters above, all squeezed onto a backland strip behind a grander terrace. Light was never the point of the plan, and most conversions still carry that inheritance: one main facade, a party wall on one side, a boundary wall on the other, and a footprint that can be under four metres wide.
That makes for a home with lovely proportions and a stubbornly dim middle. It also means brightness rarely happens by accident. The mews rooms that feel genuinely light are usually the result of three or four deliberate moves — where an opening was made, how far daylight can travel once inside, and how the surfaces it lands on behave. Almost none of it requires a large budget, but nearly all of it is easier before the plastering starts.
Before you look at drawings, take notes. A mews rarely has the same light on every floor, and the ground floor is almost always the loser: boundary walls, garages and neighbouring rooflines block the low winter sun that would otherwise reach in. The first floor often performs better simply because it clears the obstruction.
Spend a week tracking the following, ideally in January rather than June:
That last point is worth chasing. Mews facades were often altered when cars replaced horses, and a window that once existed can sit behind later blockwork. Reopening one is frequently cheaper, and far less disruptive, than building something new.
A terrace squeezed between walls has almost no side light to work with, so the roof becomes the obvious source. This is the single most effective intervention in most mews conversions, and it is also the one that gets skimped on.
The trick is to light circulation rather than individual rooms. A rooflight over a stairwell turns the stairs into a light chimney: daylight spills down through the landing, through the hall, and reaches the ground floor. A row of smaller rooflights along a top-floor ceiling will do more for the whole house than one oversized window in one bedroom.
On permissions: minor rooflights often fall within permitted development, but those rights can disappear in conservation areas, on listed buildings and on flats, and an Article 4 direction can remove them across a whole street. Structural work, new openings and anything touching a party wall will need proper advice too. Speak to your local planning authority and a structural engineer before ordering anything.
The most powerful move in a narrow plan is to cut a hole in it. A courtyard of even 1.5 by 2 metres, dropped into the middle of a long footprint, gives an internal room a real window and a view of sky. The effect is disproportionate: a small courtyard lights two rooms and gives the plan a centre.
To make it earn its keep, it should do at least two jobs — daylight, plus either outdoor sitting space, a route to the garden, or ventilation. Keep hard landscaping pale and matt, because a dark or glossy surface throws light straight back out. Plant low and loose rather than tall and dense, and avoid solid fencing that blocks the very thing you built the courtyard for. A glass or slim metal balustrade around an upper-level opening will pass far more light down than a solid parapet.
Basement lightwells work on the same principle. If you can, glaze the floor above part of the well, or use a walk-on rooflight, so the lower level gets borrowed light even when the well itself is narrow.
A mirror positioned directly opposite a window bounces daylight back into the room and effectively doubles the opening. That is the whole technique. Hang it low enough to catch light at seated eye level, and make it generous — a small framed mirror in a dark hall does very little.
Beyond mirrors, think about finish rather than material. A mirrored kitchen splashback, a glass balustrade, a slim sheet of polished stone or even a low-sheen paint on a ceiling all return some light. What you want to avoid is a corridor of mirrors facing each other, or a room so reflective that every surface competes. One clear reflection per sightline is usually enough. And keep the floor in mind: a pale, matt or satin timber, or a light stone, will pick up whatever light reaches it and send a little back up the walls.
The instinct with a dark room is to paint it brilliant white. In a north-facing mews room, that often reads cold and grey by mid-afternoon, and strong contrast — white walls, dark skirting, dark floor — chops the space into horizontal bands that make it feel lower and narrower.
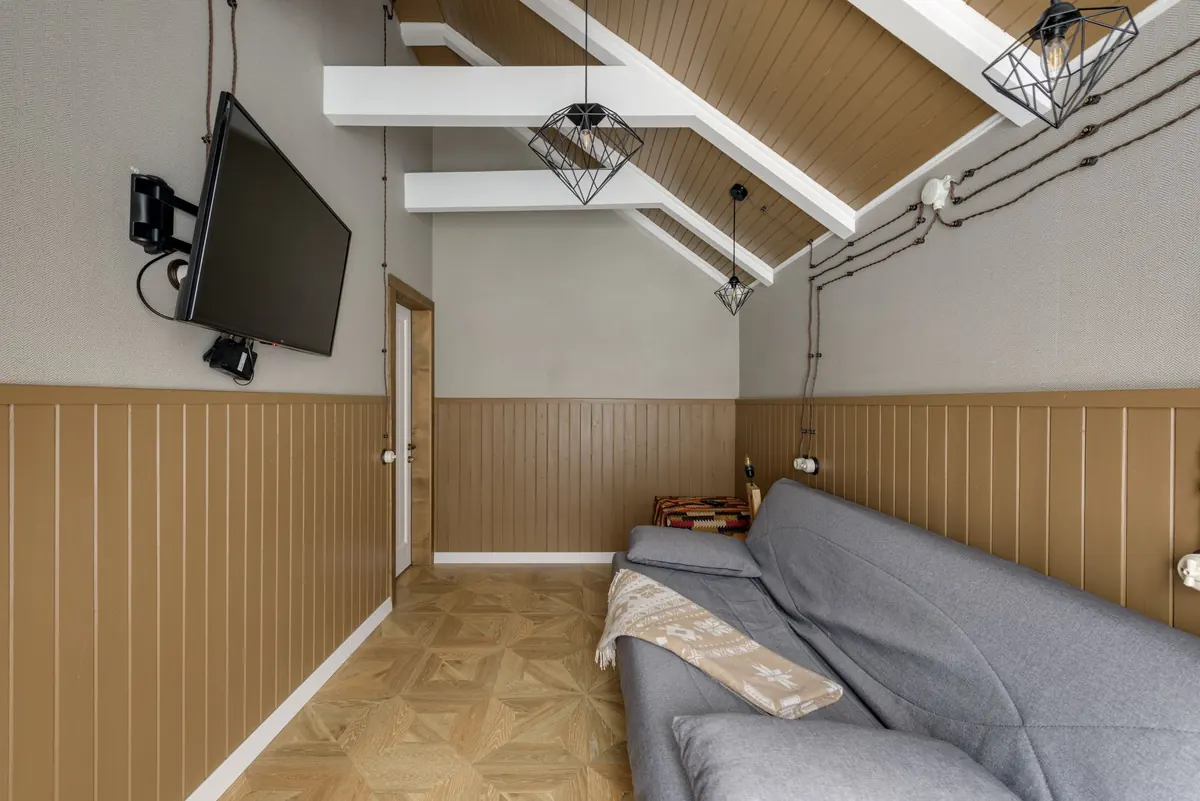
A softer approach works better. Warm off-whites, chalky neutrals and pale stone tones keep a room feeling light without turning it clinical. Painting the ceiling in the same colour as the walls, or a shade lighter, removes the visual line at the ceiling and lets the walls read as one tall surface. Skirting, architraves and doors in a tone close to the wall colour stop the joinery from drawing attention to the room's limits.
Do not rule out darker colours entirely. A deep tone on the wall furthest from the window anchors the back of the room and makes the lit surfaces near the window appear brighter by comparison. It is contrast in the wrong place that kills a narrow space, not colour.
Daylight weakens with distance, so every metre of clear sightline counts. That usually means opening up the plan: taking out a hall wall, widening a doorway, using a glass partition or a pocket door instead of a solid one that stays shut. Even a half-height wall will let light over the top while still separating a study from a living area.
Furniture decisions matter as much as building work. Low sofas, open shelving, a bench rather than a tall cupboard. In kitchens, put the full-height units on the darker wall and keep the run under the window low. Where you can, keep the stair open and unboxed — a closed string and solid balustrade will block light that would otherwise reach the floor below.
No amount of clever lighting makes a dark plan feel bright, but poor lighting will undo everything else. Skip the grid of ceiling downlights; it produces pools of glare and shadows between them. Instead, layer your light: wall-washing uplights to lift the ceiling, a pair of lamps at seated height, and a focused task light where you actually read or cook. Warm white sources around 2700K to 3000K suit period conversions better than cool white, and dimmers let the same room work in the evening as it does at noon.
If you are planning a renovation, this sequence saves money and rework:
Mews properties come with constraints that no amount of styling can wish away, but they also come with a ceiling you are allowed to open and a footprint that responds beautifully to one well-placed hole. Fix the light first, and everything else in the house becomes easier to get right.
Photo: Max Vakhtbovych / Pexels
Lofts, basements and outbuildings can each buy a mews house an extra bedroom or office — if you respect...
Coach houses, stable blocks and artist's studios look similar from the street, but their original features...
Integral garages under mews houses bring parking, storage, and also noise, damp and planning questions....